As with paws, we start with a needle threaded with perle thread (don't use stranded embroidery thread, it's not strong enough) and we take our 2 feet and decide which will be left and which right, in this example I'm doing the right foot. Insert the needle half way along the instep seam, coming out at the centre front, where the the toe meets the sole.
Go back into the same point, splitting the thread to lock it, as we did with the hands, and come out in the centre of the sole, about one third of the way towards the heel. Flex the foot as you go through it, 'scooping' a little extra stuffing with your needle, so the thread ends up going in a curve through the foot when you pull it up, this will pull a little more stuffing into the toe, creating a more cushioned effect.
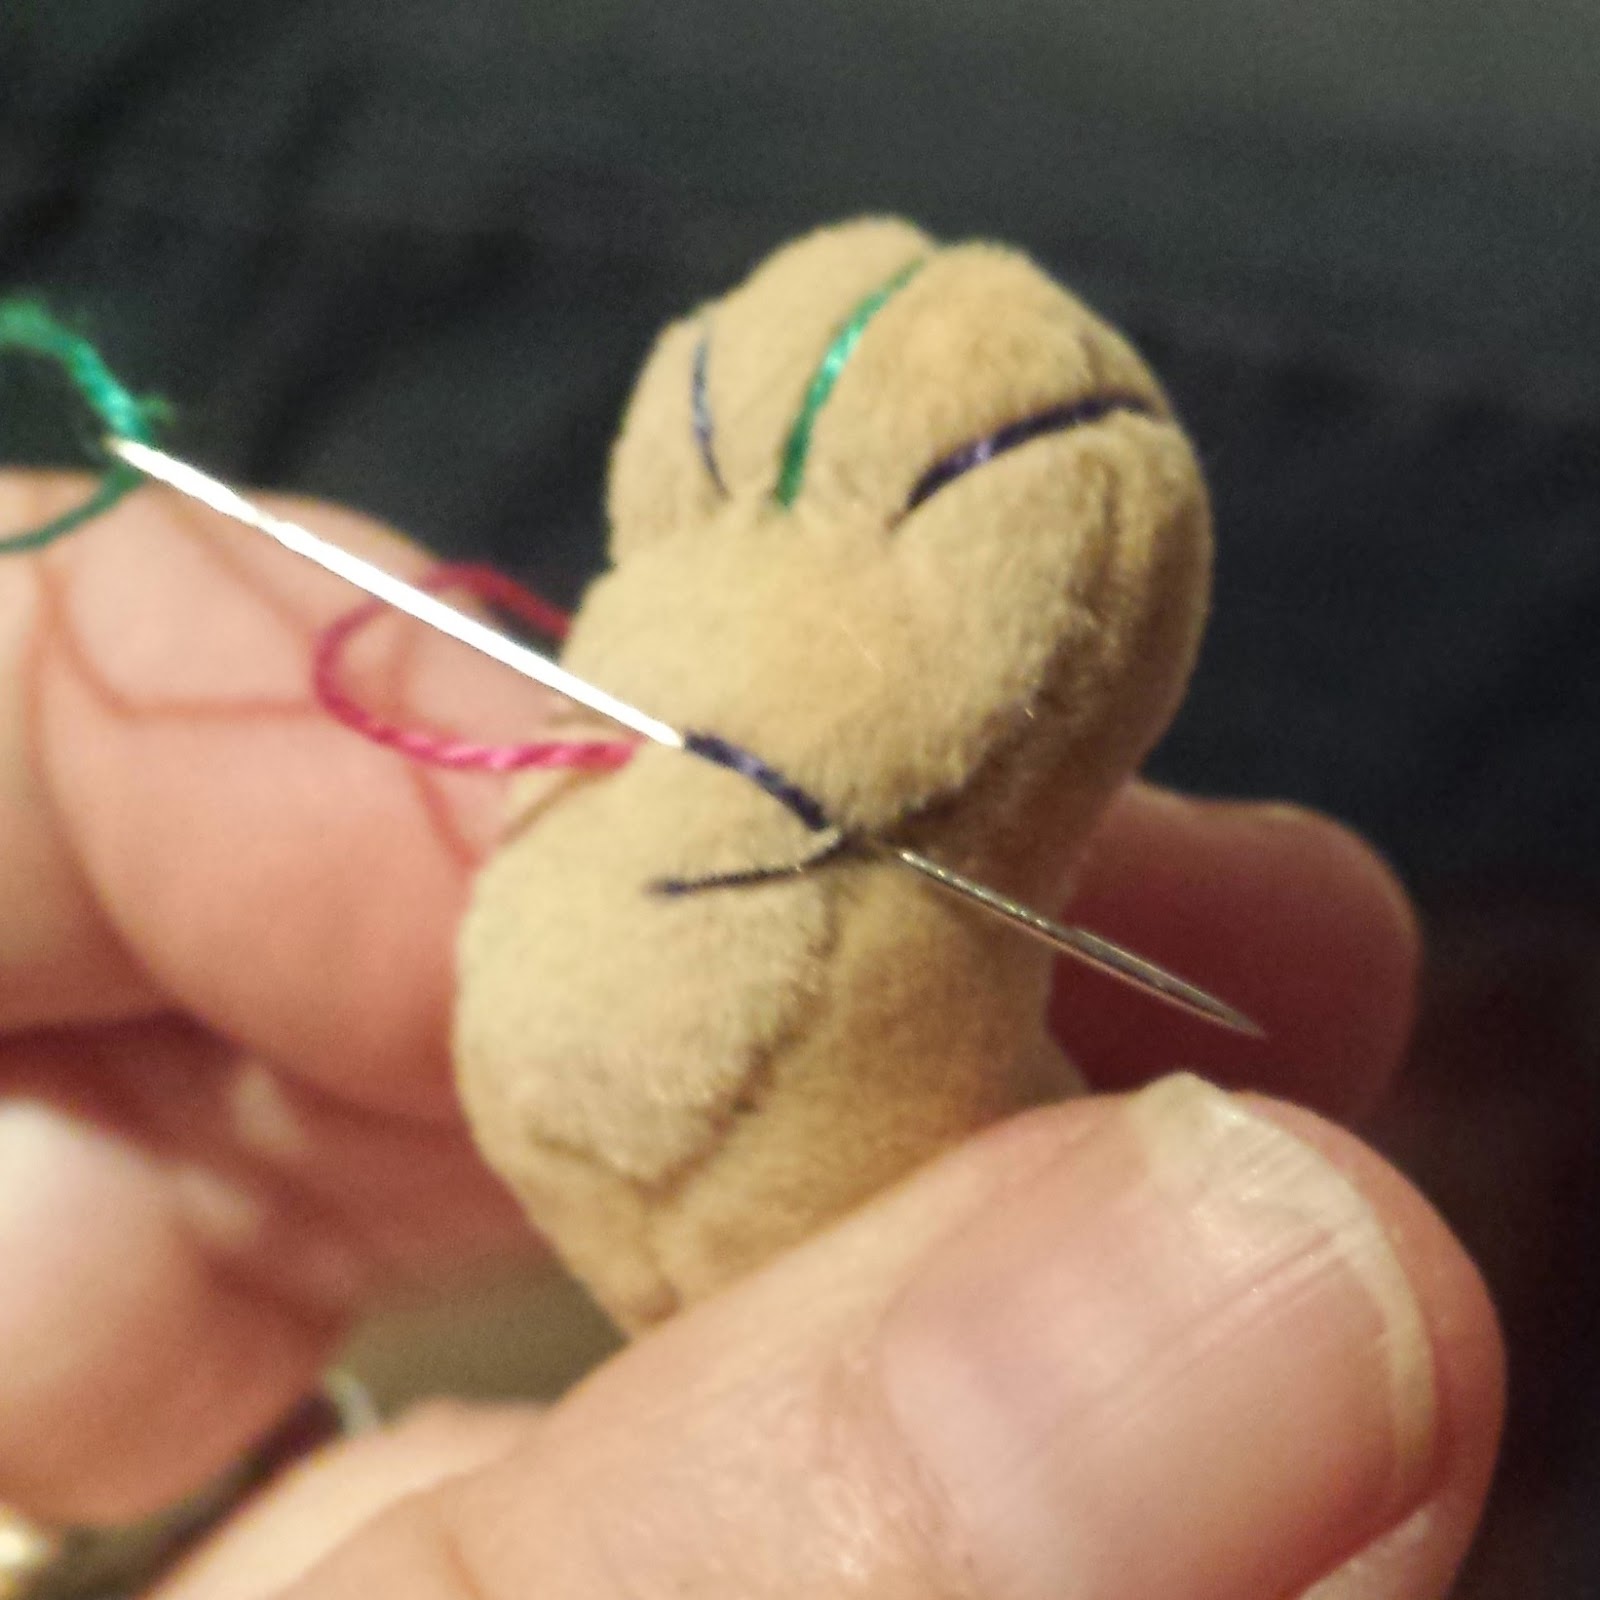
Take a teeny stitch in the sole, as we did with the paws, and bring your needle out either in the seam joint where you started, which gives you simple pads on the sole only, or, as in this example, in the centre front seam of the foot, about where it starts to curve, to create a 'claw'.
Lay the thread in position (it should sit neatly in the slight dent at the centre front) and insert your needle exactly in the tiny stitch in the centre of the sole, and bring it out in the foot/sole seam where you want the first side 'claw' to sit,
Repeat the process for the first side claw/toe, pulling just enough to create a pad on the sole, but not to ruckle the fabric.
Then do the third toe/claw in the same way.
When you are completing the thisrd one, bring your needle out in the centre front seam junction where you started.
I like to sculpt an instep, too, so the foot is properly foot shaped! If you don't want to do this, you can finish by just doing the same thread splitting stitch and taking your needle out at the heeel, where you pull slightly, snip, and the end will disappear into the foot. If you do want to shape an instep, do the thread splitting stitch again, to lock your work in place, bringing your needle out in the same place where you first inserted it in to the foot, in the instep seam about halfway between the toes and the heel.
To sculpt the instep, put your needle back into the same point on the seam (a thread or 2 away, else it will just pop back in, it needs some threads to cling to!) and come out about 2 thirds across the sole, a little up from straight across.
Pull really firmly - not hard, you don't want to snap the thread, just sculpt the fabric & stuffing! then lay the thread over to the same point in the instep seam, put your needle in there again, and bring it out through the sole, not quite so far across, and at about 45 degrees to the upper instep stitch.
Pull through, again fairly firmly, and put your needle back into the same point of the instep seam, bringing it out 2 or 3 threads beyond the end of the first instep stitch.
Now put your needle precisely into the very end of the first instep stitch an d back out in the instep seam.
Pull firmly, and you will have a neatly shaped foot. Finish by going back into the instep seam one more time, bringing your thread out at the heel/sole junction, pulling slightly and snipping the thread.
One right foot! Repeat mirror imaged for the left foot, and you have a full complement of limbs.
And here is my completed bear, called 'Burns Night" ready to dance a reel as the haggis is serenaded in! I hope you have fun trying this, if you want a bear to stand firmly by itself, weighting the feet with a little steel shot, and sculpting them like this, gives it the same advantage we have - almost tripod shaped feet!


No comments:
Post a Comment